Council Bluffs
928 Valley View Dr #7,Council Bluffs, IA 51503
P: (712) 256-1800
F: (712) 256-9143
E: mail@flex-pt.com
Physical Therapy in Council Bluffs
Let our team help you heal naturally
Most patients feel relief after their first session!

5-Star Google Rating
We are proud to have a 5-star Google rating! This demonstrates our commitment to excellent service and hopefully builds trust with new customers!

Facebook 5-Star Rating
Our Facebook 5-star rating is a testament to our exceptional service and commitment to customer satisfaction. Thank you for your continued support!

Over 200 Five Star Reviews
We are proud to have earned the trust of over 200 people who left us a 5 star review. Our team of experienced therapists continues to provide the best physical therapy in Council Bluffs and the surrounding areas!
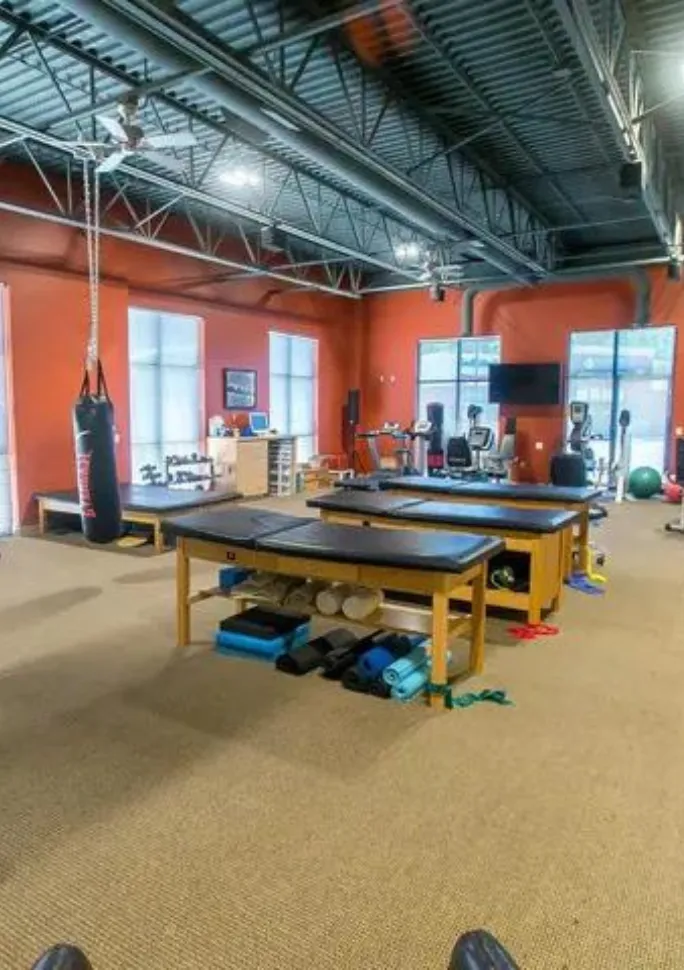
Top Rated Physical Therapists in Council Bluffs
If you’re looking for a physical therapist, we have the perfect opportunity for you. Every member of our team has received professional training and is licensed. We can provide laser therapy and therapy for any injury or emergency. You can trust our reliable solutions and professional service to ensure that your body is well-maintained.
Our physical therapists are proud to create individualized and personal physical therapy treatment plans that are unique to each individual. They also provide extensive education about how to improve one’s health and prevent future injuries.
Personalized Care from Our Team
There are no two people exactly the same. Therefore, injuries can be different even though they may affect the same body part. Our expert medical team will evaluate your condition and create a customized treatment plan that will get you back on track to being your best. Our staff will guide you through each visit with personalized attention and dedication.

Our Proven 4-Phase Recovery Program
It can be frustrating and overwhelming when you’re in pain and don’t know where to turn for help. Our physical therapy experts will work with you one-on-one to identify the root cause of your pain and create a personalized treatment plan that will reduce your pain quickly. We’ll also provide you with helpful resources like exercises and pain reduction tips so you can continue to progress even after leaving our clinic. On average our patients see a significant reduction in pain in 6 visits or less.
We all know that reducing pain is important, but sometimes it’s hard to stay motivated after the initial relief. It can be tough to keep up the momentum after your pain has subsided. You may feel like you’re stuck in a rut and don’t know how to get moving again. During Phase II, we help you regain your mobility, flexibility, and strength so you can continue on your path to success. With our help, you’ll be primed for future performance and able to prevent injury.
You’ve been sidelined by an injury and you’re eager to get back to your old self as soon as possible. It’s frustrating when you’re injured and can’t do the things you love. Sitting on the sidelines is hard, especially when everyone else seems to be moving on without you. That’s where our physical therapists come in. We’ll help you rehab your injury so that you can get back to your old self as quickly as possible. With our personalized treatment plans and experienced therapists, we’ll have you feeling like yourself again in no time.

You’ve just suffered an injury and the last thing you want to do is go through the pain again. It’s normal to feel concerned that the injury will occur again. In fact, most people worry about this very thing. That’s why our physical therapists make sure that you are equipped with the tools needed to prevent any future injury. We’ll help you recover quickly and safely so that you can get back to your life as soon as possible.
Success Stories & Testimonials
Meet Our Team
Mike Uhrlaub
PT, Director, CEO
Mandy Sommer
Massage Therapist
Amy Steensland-Rickard
Office Manager
Treatments
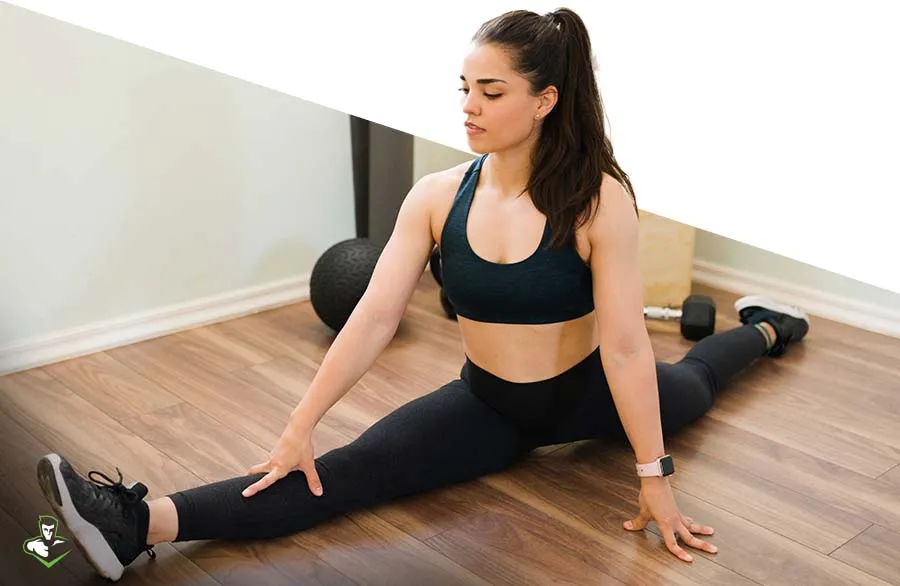
Join Nutra Care
Joint Nutra Care is a revolutionary supplement that helps your body feel better and younger all naturally. The combination of ingredients provide long lasting benefits that include: Improve joint comfort by providing the building blocks for joint cartilage and ligaments..
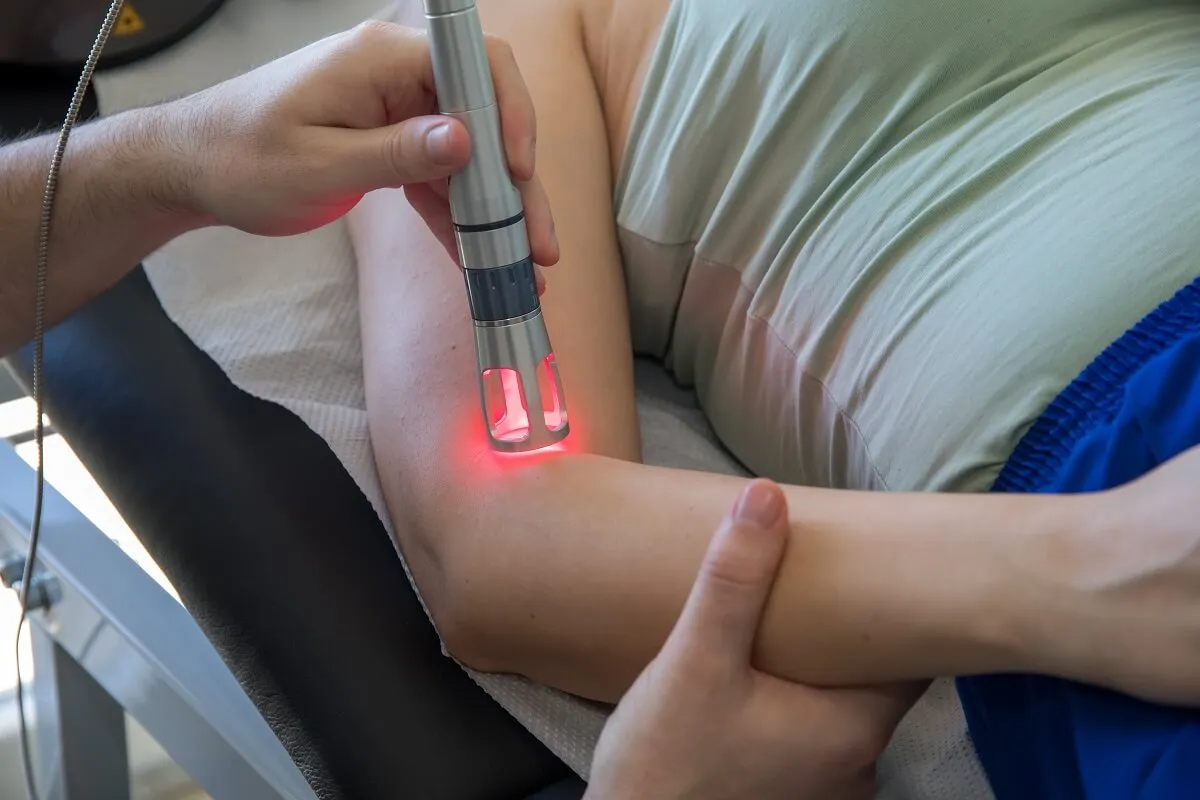
Laser Therapy
The LASER works by creating an increase of blood supply, bringing in oxygen to the cells. It stimulates the lymphatic system, pulling swelling and inflammation from the area. The body’s basic unit of energy, ATP (Adenosine triphosphate), production is stimulated..
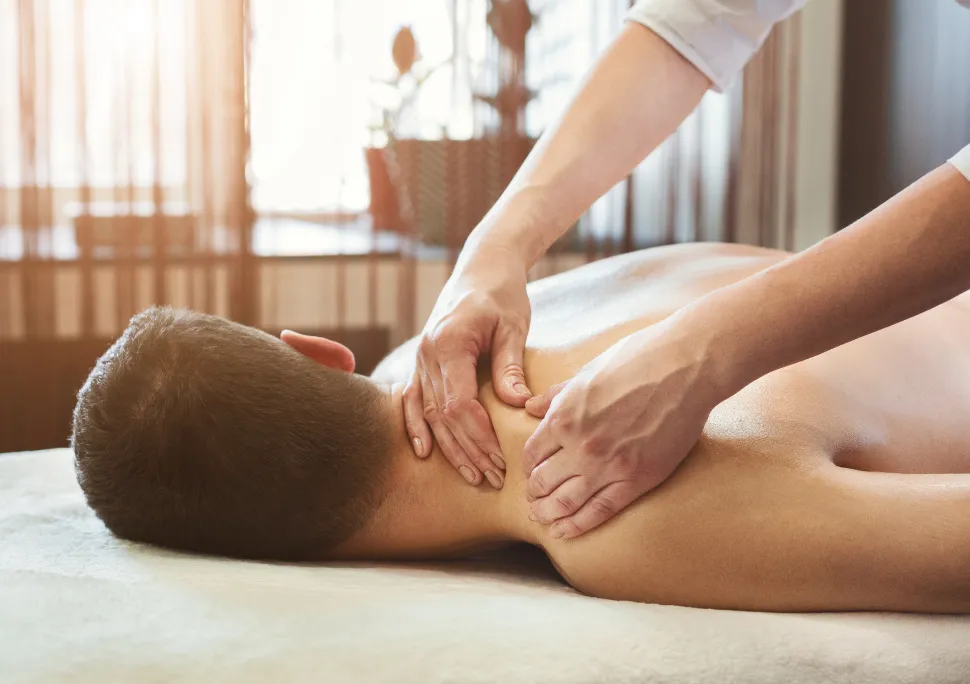
Massage Therapy
Massage is a soft tissue technique that increases blood and lymph circulation throughout the body and is a general term for rubbing, pressing and manipulating your ligaments, tendons, muscles and skin. . Massage also assists in healing muscle soreness..
Orthopedic Therapy
Orthopedic physical therapy is a specialized field of physical therapy that focuses on the treatment of musculoskeletal injuries and conditions. Orthopedic physical therapists work with individuals who have conditions such as arthritis, sports injuries, back pain..
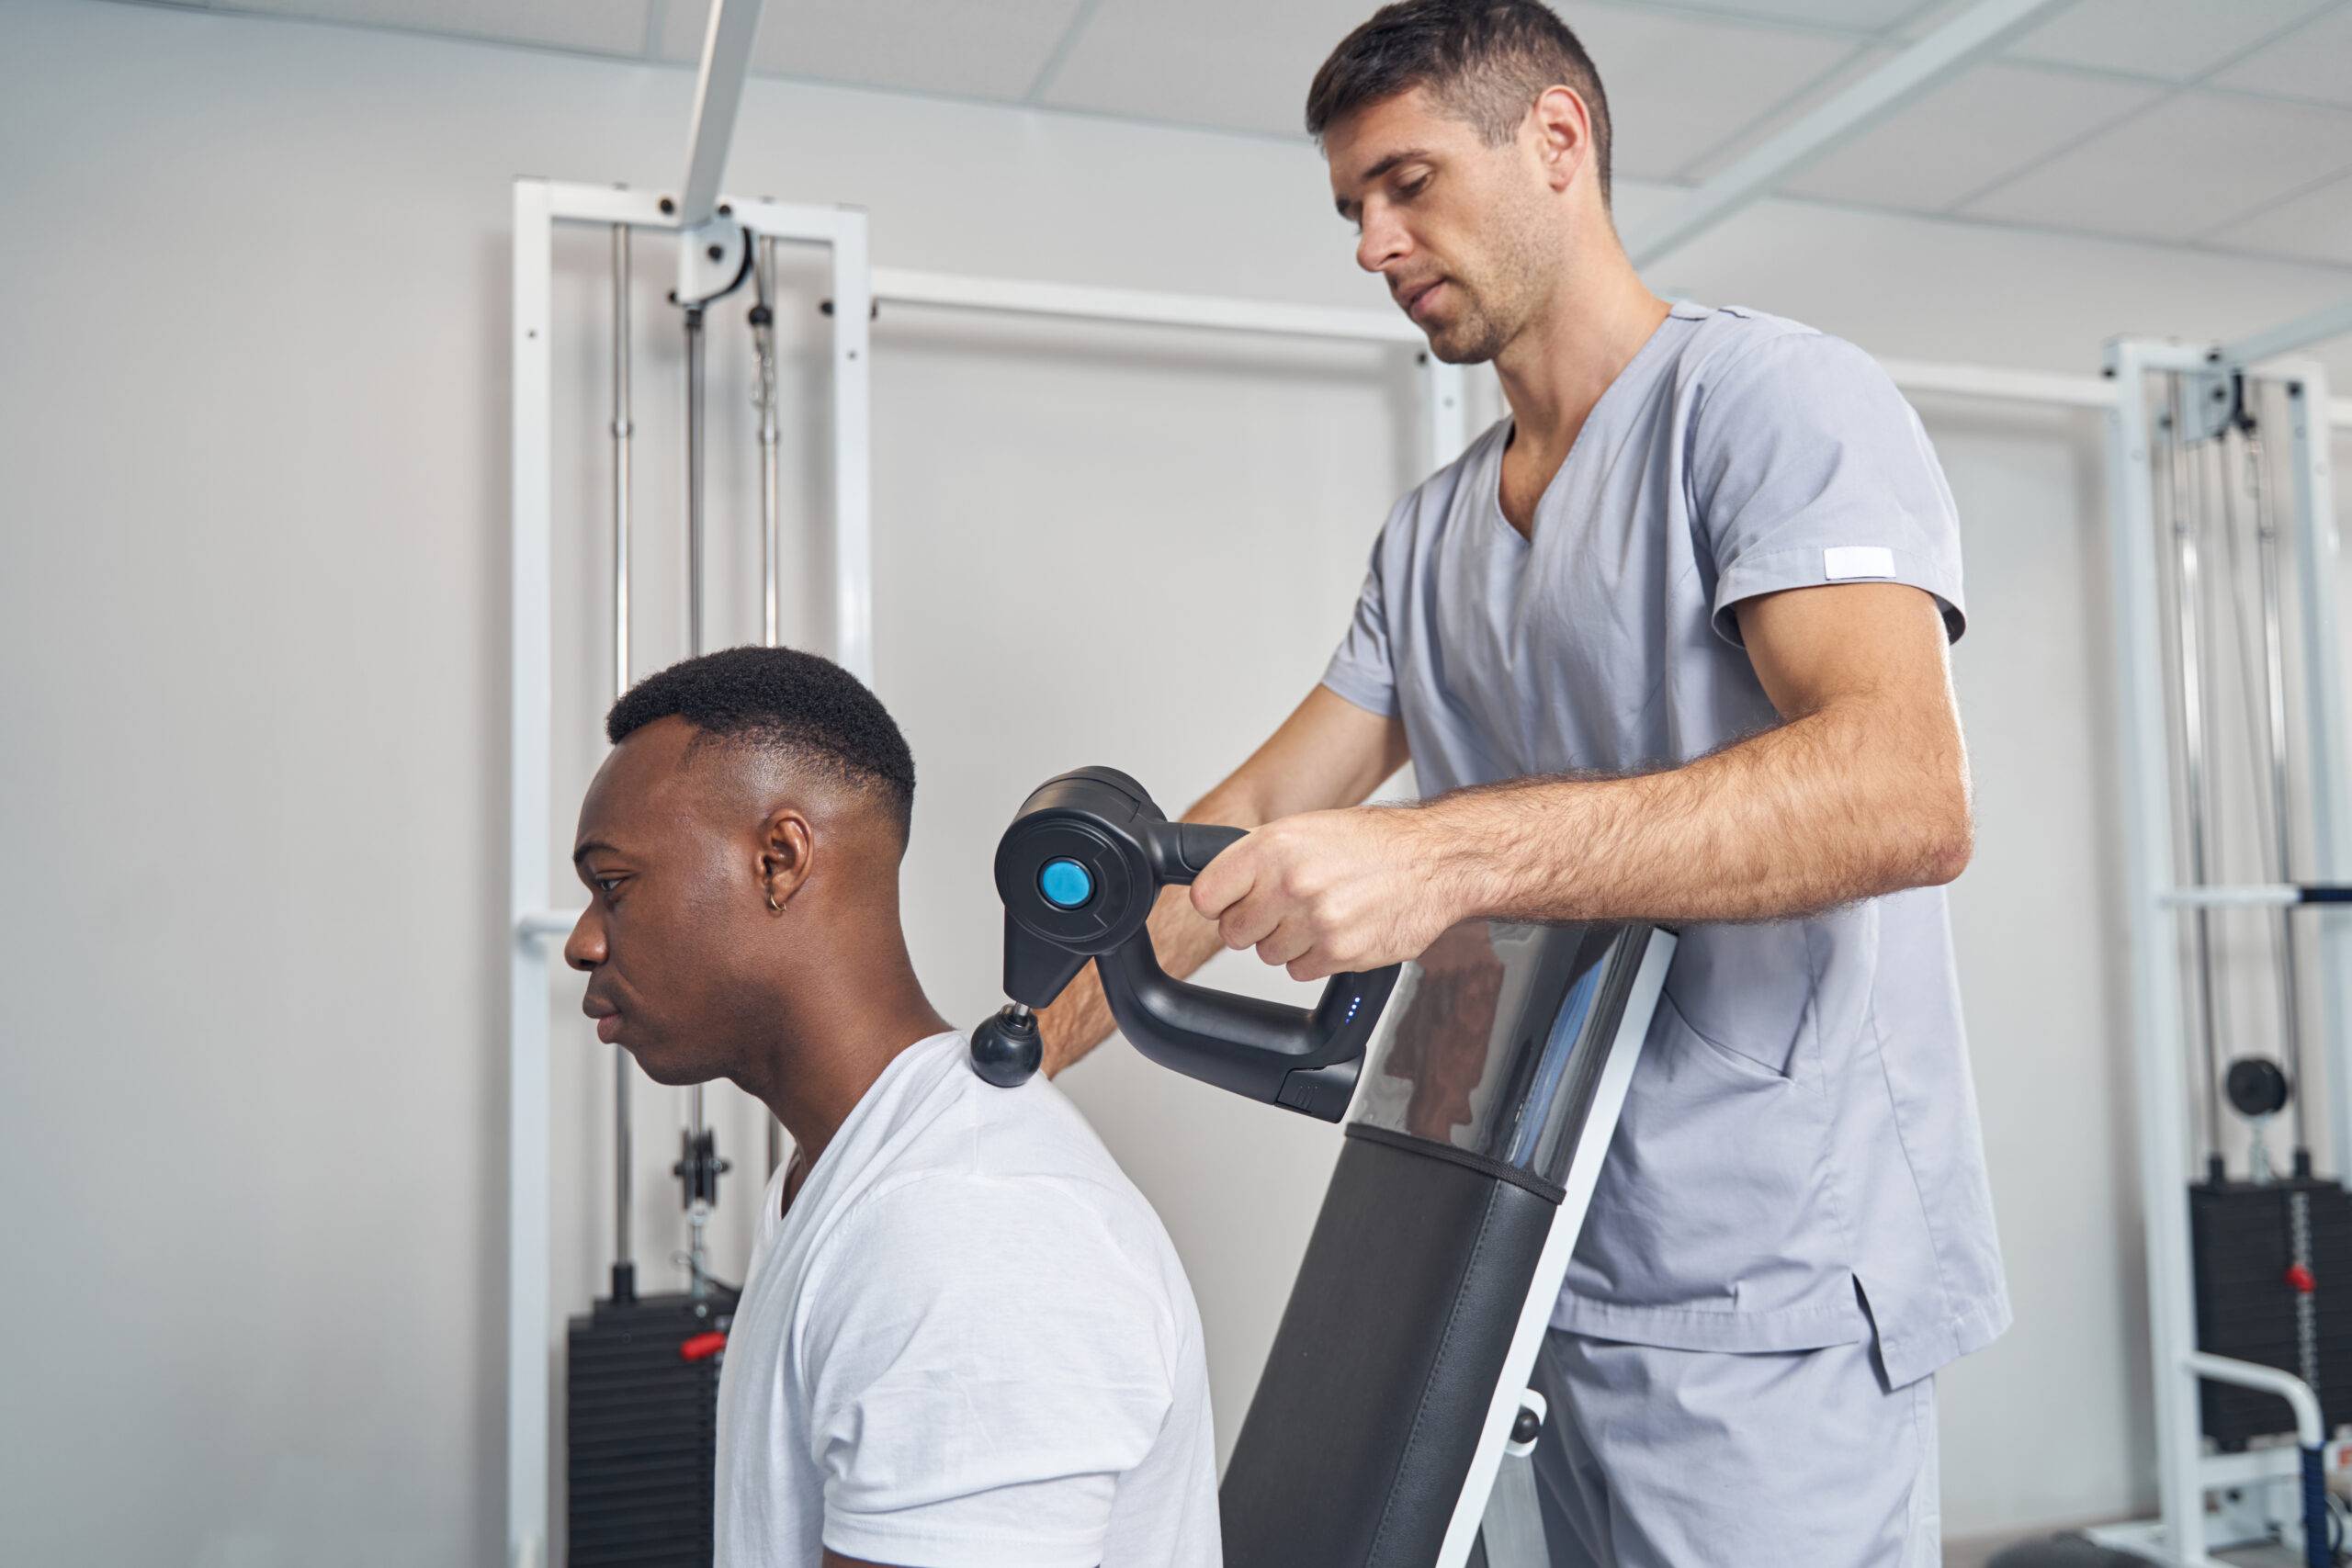
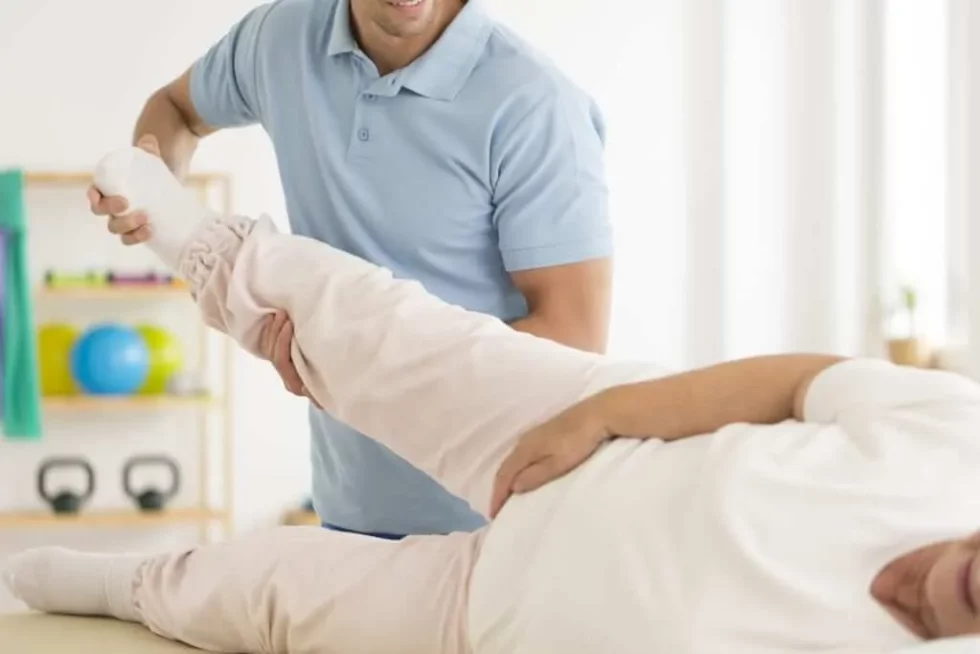
Physical Therapy
Physical therapy is a great first-line treatment for most muscle and joint problems. Clinically proven to reduce pain and dysfunction, physical therapy also saves you time and money too. Although other kinds of practitioners will offer some of these treatments..
Sports Rehab Program
Sports Rehabilitation Rehab Whether you’re a weekend warrior or a serious athlete, sports injuries are a fact of life. A twisted ankle or an aching back can usually be treated at home. But for those breaks and tears that call for immediate medical attention, or those pains..
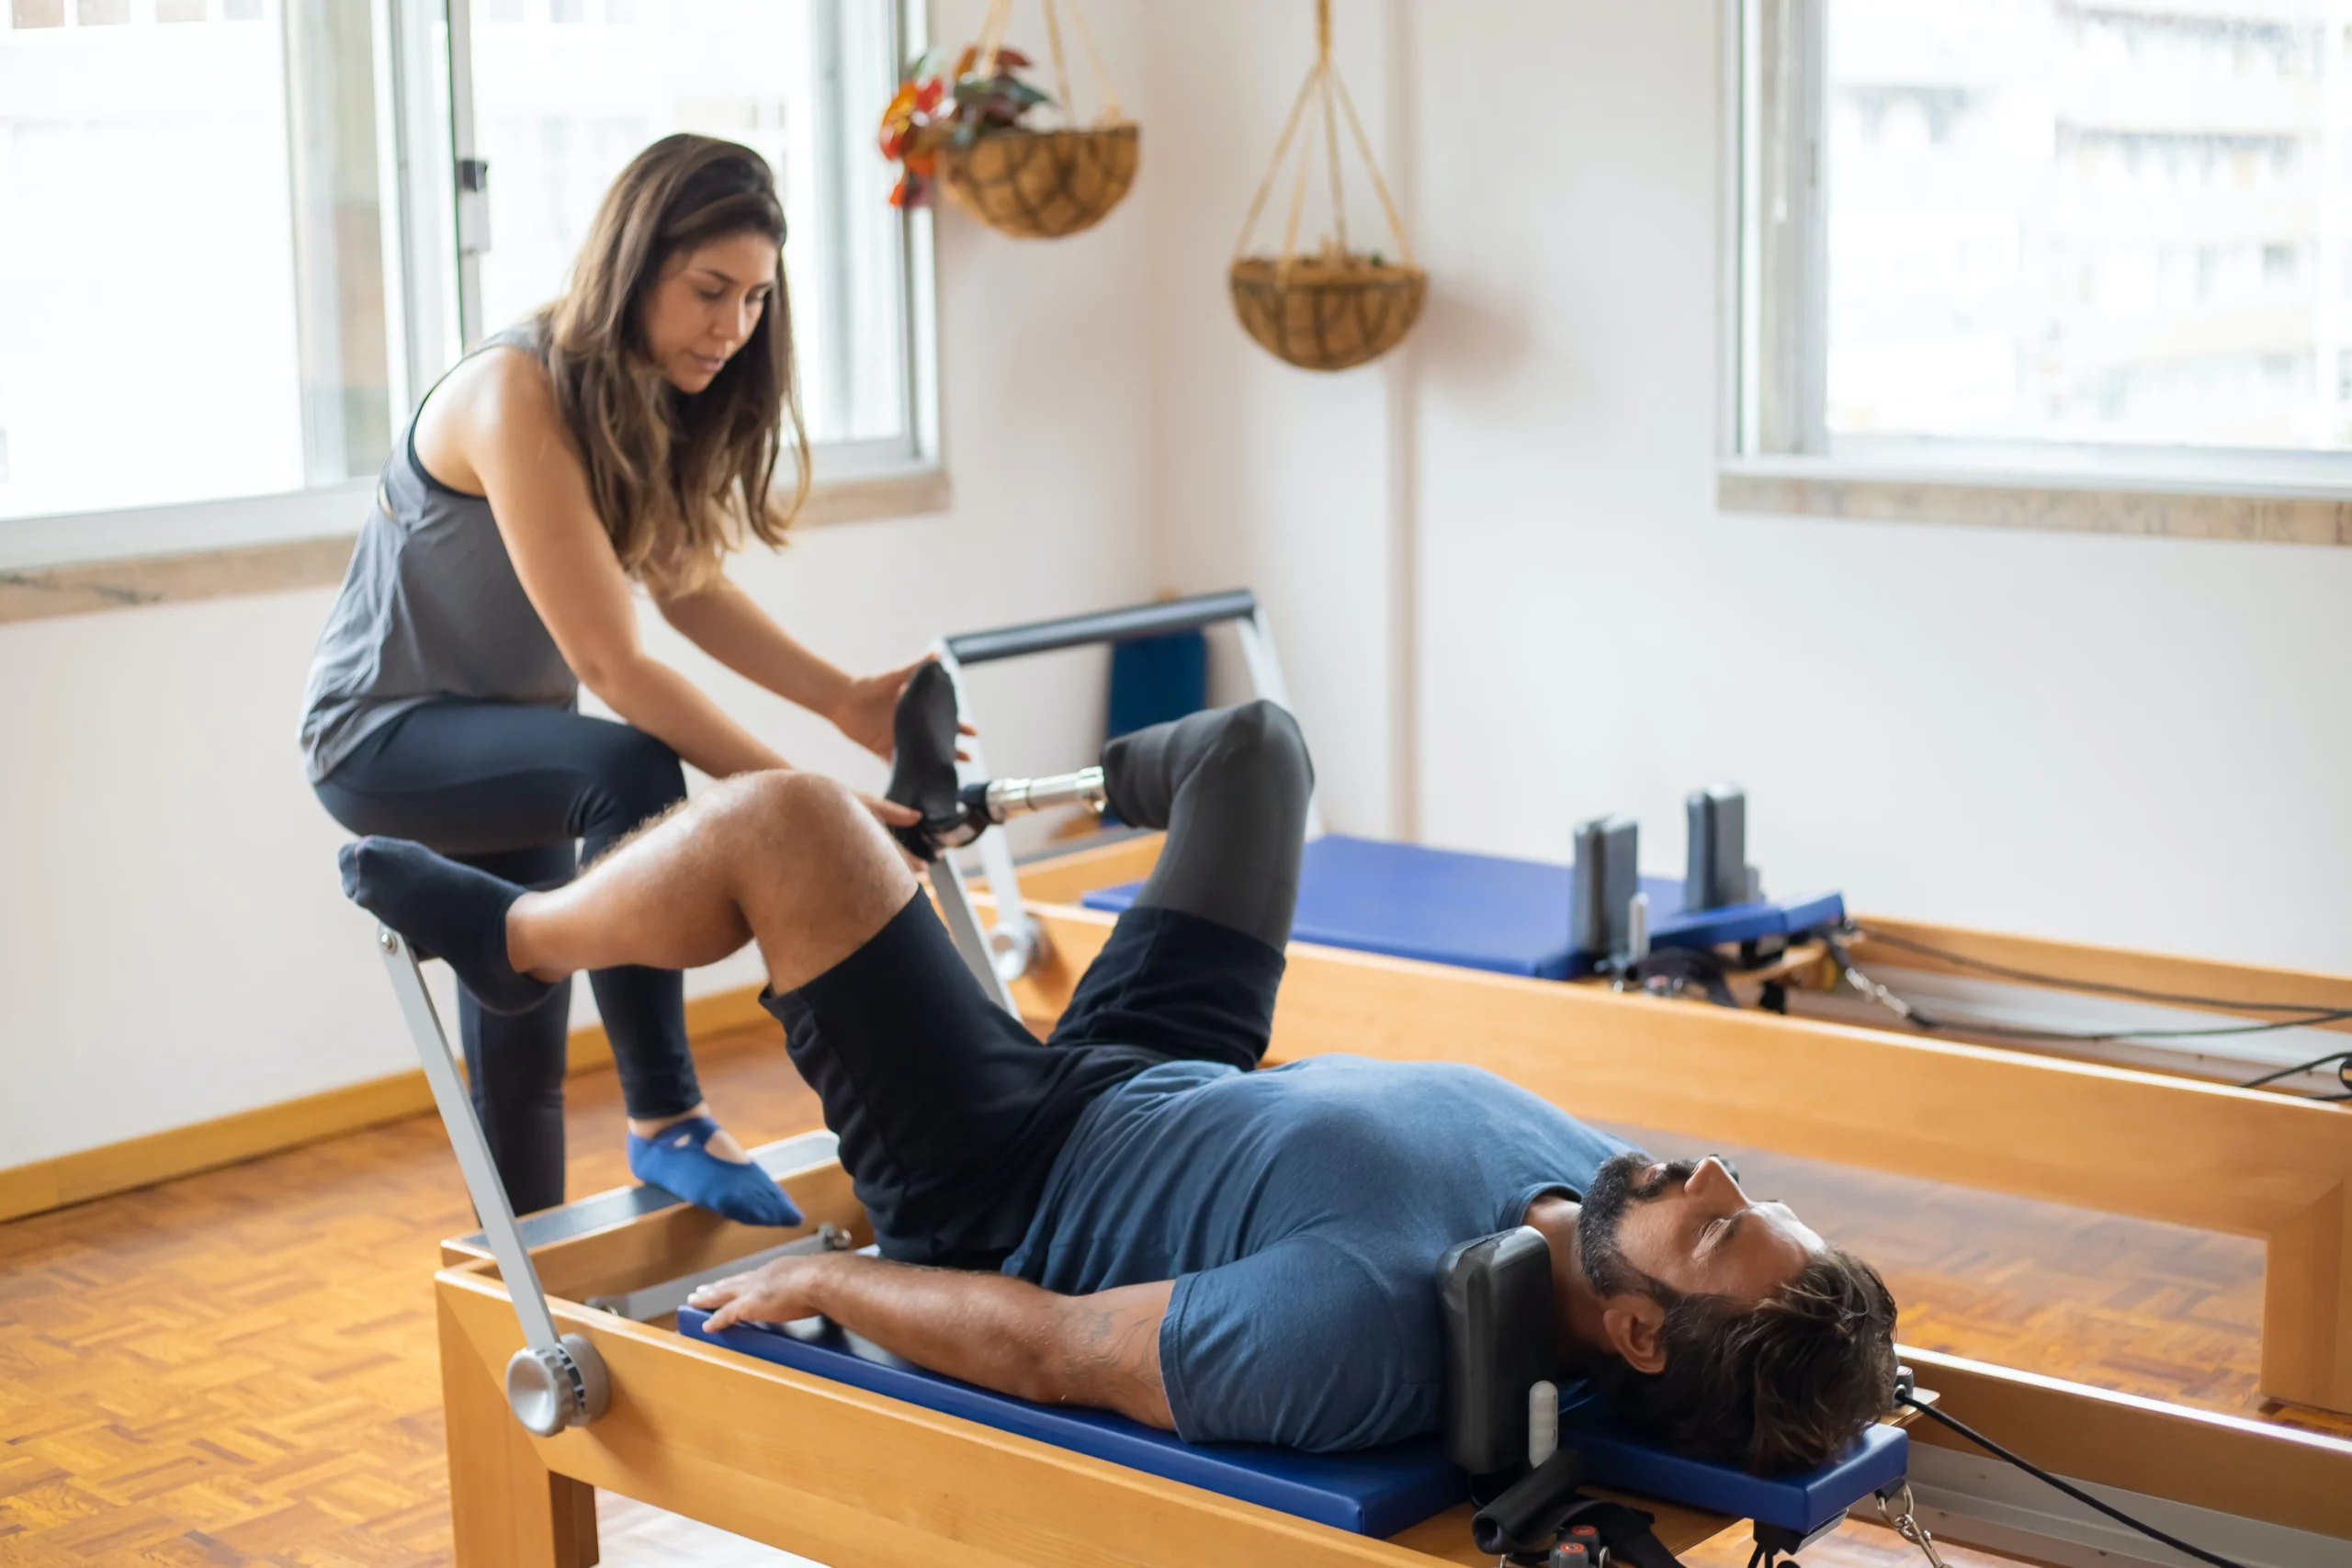

Vestibular Therapy
Vestibular Rehabilitation Therapy is a specialized type of physical therapy, is used to treat vestibular disorders. This therapy often includes manual head maneuvers, as well as a progressive program that aims to reduce vertigo, dizziness, visual problems, imbalance..
Live Pain Free in Council Bluffs
Our team understands that you want to live an active lifestyle that is comfortable and capable. Your body must work in order to achieve that. You are experiencing pain, injury or weakness, which can make you feel confused and frustrated.
We believe that you deserve a body that is fully functional. We know what it is like to be injured,which has led to our success in helping thousands of people get back to their active lives.
This is how we do it:
- Tell us your story
- Get your customized plan.
- Start feeling better.
- Conquer your goals.
Our Physical Therapy Programs
We make sure that our patients receive high-quality physical therapy as well as training programs that are perfect for them!
The programs are designed to help you achieve your physical health goals. They start with pain management and continue to use corrective exercises to build your body’s strength.
Then, you’ll be doing functional training activities and then the injury prevention phase. This is crucial to keep your strength up and prevent injury.
Frequently Asked Questions
What should I expect during physical therapy sessions?
Physical therapy sessions typically involve an assessment of your condition, manual techniques to improve mobility and flexibility, individualized exercises and activities to help you reach your goals, education on how to prevent further injury or pain, and instruction on proper posture, body mechanics and other lifestyle changes.
Do I need a referral from my doctor before attending Physical Therapy?
A referral from your doctor is not required, Iowa is a direct access state for physical therapy
What do I need to wear or bring with me?
You should dress in comfortable, loose clothing that allows you to move easily and doesn’t restrict circulation. Depending on your condition, your physical therapist may also recommend special shoes or a brace. You should also bring any paperwork related to your medical history, including x-rays, ultrasounds, and doctor’s notes.
Is there anything I can do before my appointment to prepare?
Yes! Make sure you arrive for your session well-rested so that you can give it your full attention and energy. It is also helpful if you keep track of how much pain medication (if any) you take prior to the appointment so that the physical therapist can adjust the intensity of treatment accordingly.
How long will my physical therapy sessions last?
Sessions typically last 30-60 minutes depending on your condition and the types of techniques used. Your physical therapist will give you an estimate when you first arrive for your appointment.
Are there any exercises I can do at home between appointments to help improve my condition?
Yes! Your physical therapist may provide specific exercise recommendations for you to try in between visits, which will help speed up your recovery and progress faster toward reaching your goals. It’s important to follow these carefully and always check with your PT before starting a new exercise program if you have any questions or concerns.
What if I have questions after my physical therapy session?
Your physical therapist should be available to answer any questions or concerns you may have about your treatment plan before and after each visit. You can also contact the clinic directly for further assistance. We want you to get the most out of every session!
Will insurance cover my physical therapy?
It depends on your insurance plan. Most plans cover some or all of the costs associated with physical therapy, but you should check with your provider to determine coverage and any associated fees.
How often will I need to attend physical therapy sessions?
The frequency of visits will depend on your individual goals and condition, but typically it is recommended that patients attend 2-3 times per week for a minimum of 4-6 weeks in order to maximize results. Your therapist will provide more details during your initial appointment.
How long will it take for me to see results?
Every person’s situation is unique; therefore the amount of time needed to reach goals varies. With commitment and dedication from both you and your physical therapist, you can expect to start seeing results within a few weeks. The more positive lifestyle changes you make, the faster your progress will be!
Will my physical therapist be able to answer any questions I have about my condition?
Yes! Your physical therapist should be available to discuss any concerns or questions you have regarding your condition or treatment plan. Don’t hesitate to bring up any issues that may arise during the course of therapy.
What if I feel too much pain during a session?
If at any time during your physical therapy session you experience increased pain, it’s important to let your therapist know so they can adjust the intensity or technique as necessary. Your therapist will work with you to make sure that treatment is comfortable and effective for you
How will I know when I no longer need physical therapy?
Your physical therapist should be able to provide guidance on when it is appropriate to stop attending physical therapy sessions based on your progress, goals, and overall health status. It’s important to listen to your therapist and continue with treatment until they feel you are ready to move on.
